Rabbit skin glue has been used for centuries as a traditional sizing for oil painting and gilding. Its main purpose is to prepare and protect raw canvas before gesso or paint is applied. By brushing it onto untreated fabric, it seals and strengthens the fibers while reducing absorbency — preventing the oils from rotting the canvas over time.
In this post (and the video above), I’ll show you step by step how to make rabbit skin glue at home. It’s simpler than it sounds — if you can make chicken stock, you can make this.
Watch the Video
(Embed your YouTube video here with a line like:)
Here’s a full walkthrough of the process:
Why Rabbit Skin Glue?
This glue has long been valued by painters for two key reasons:
- Protecting the canvas fibers — it creates a barrier against the acids in oil paint.
- Reducing absorbency — so you’re not painting into a surface that drinks up all the oil, leaving colors dull and chalky.
I first learned about it in an evening class taught by an older painter named Furman Fink. He was over 90 years old and still demonstrating how to prepare rabbit skin glue. That memory stays with me — If a man of 90+ years old can take the little time that is needed to do this process, I have no excuse not to. Also, it’s a reminder that these traditions are worth keeping alive.
What You’ll Need
Rabbit skin glue granules (looks like light brown flakes or coarse sand)

Water (1½–2 cups)
Measuring spoon (tablespoon)
Heatproof container
A double boiler or a pan of hot water in the sink
If you don’t have access to a large art supply store, you can easily order rabbit skin glue online.
Step-by-Step: Making Rabbit Skin Glue
Step 1: Measure and Mix
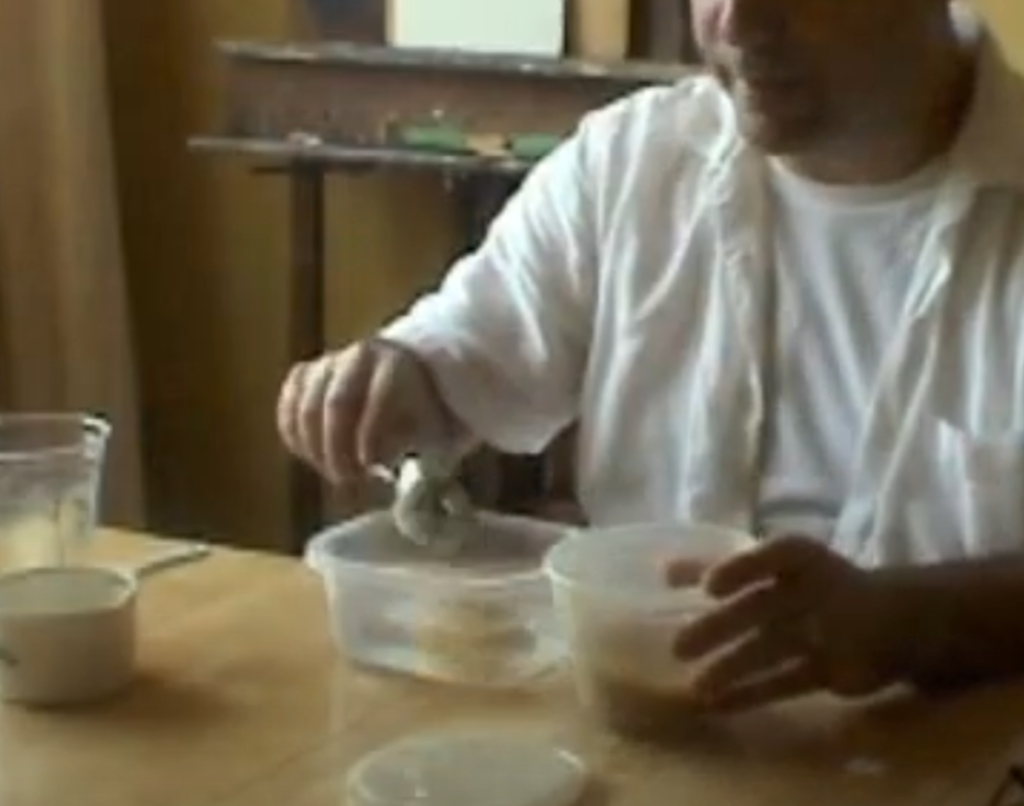
- Combine 1 to 2 cups of water with about 1 tablespoon of rabbit skin glue.
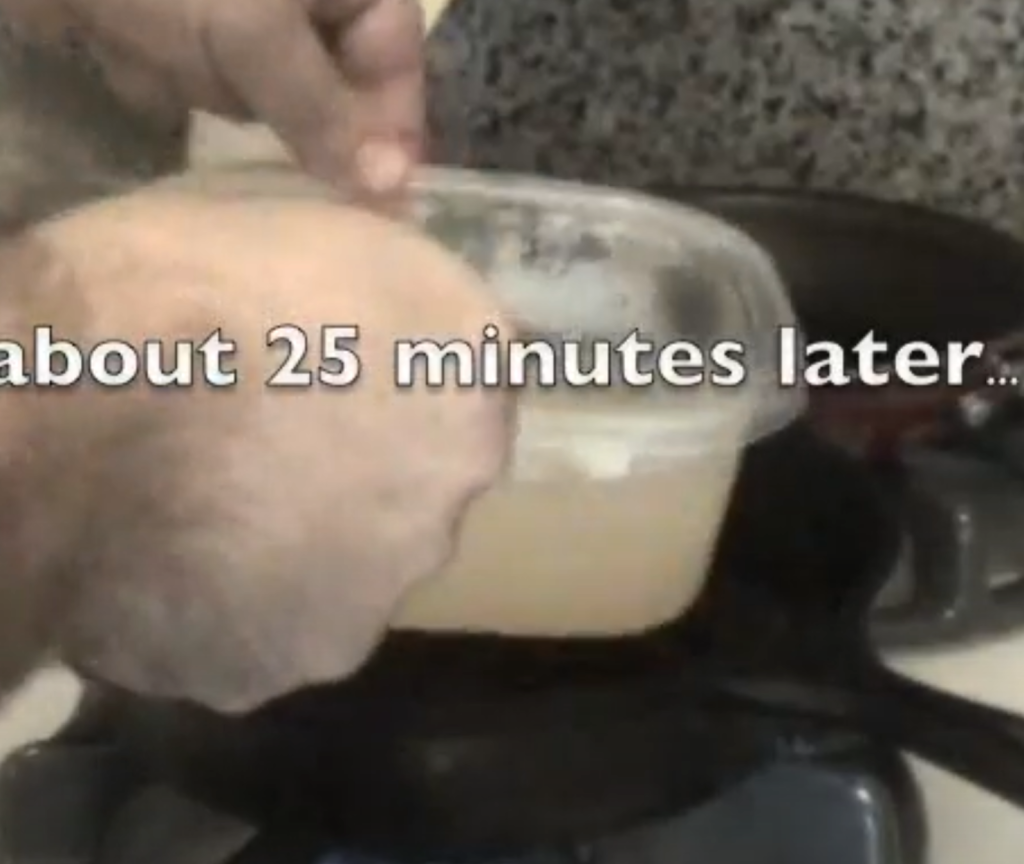
- Stir lightly, then let the mixture sit. The glue will absorb the water and form a jelly-like mass.
Step 2: Heat Gently
- Place the container into a double boiler or a pan of hot water.
- Stir until the glue dissolves into a warm, amber-colored liquid.
⚠️ Important: Do not boil. Overheating breaks down the glue’s properties.
Step 3: Cool and Store
- Once dissolved, remove from heat.
- Let cool, then refrigerate. The mixture will set into a firm jelly that can be reheated when needed.
Tips for Success
- The glue doesn’t need perfect proportions. A little more or less water won’t ruin it.
- Always avoid boiling — keep the temperature low and gentle.
- Use on raw linen or cotton before applying gesso.
- Expect it to look a bit like chicken stock in color — that’s normal.
Closing Thoughts
Making rabbit skin glue may feel old-fashioned, but it’s a ritual that connects us with centuries of painting tradition. For me, it’s as much about respecting those who came before as it is about preparing a canvas.
Give it a try — it’s simple, effective, and it will give your canvases that time-tested foundation.